Using Magnets for Miniatures
Mounting and setting up miniatures and models using magnets

Star Wars X-Wing Miniatures Game is a tabletop game that's become popular very quickly over the last few years. It's a game that's played on any tabletop (there's no board), where you enact spaceflight battles using models of X-Wings, TIE Fighters and other spaceships from the Star Wars universe.
In addition to being a fun game, the tiny miniatures are quite detailed and look really great. Some folks buy them for decoration without any intentions of playing the game.
Modification
Unlike some other games that use great looking models, such as Warhammer 40k, these X-Wing models come completed, painted and ready to play. Even so, it seems that enthusiastic gamers can't resist modifying their ships to be just a little bit cooler than the next guy.
Naturally, tiny yet powerful neodymium magnets add some extra flair to the ships. Before we describe the modification, let's look at the stock setup.
Out of the box
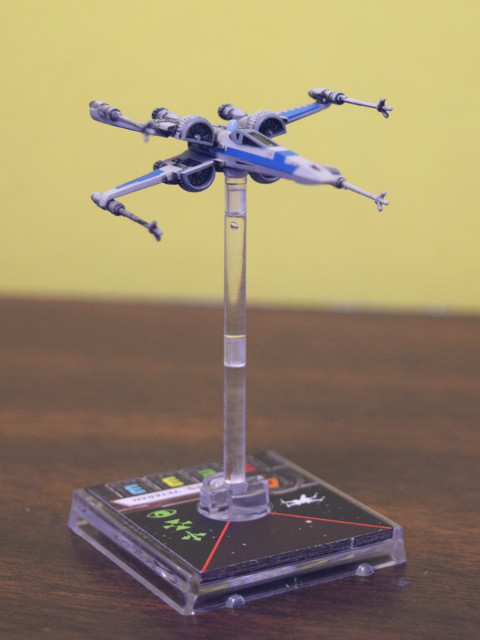
The basic starter set for the game includes one X-Wing and two TIE Fighters. As you get more into the game, you can acquire other ships to field larger fleets, but you can play a game with just the basic set.
The models themselves are exquisitely detailed. They look great.
The base or stand has a card that snaps into place, indicating some important specs about the ship, such as firepower, agility, shields, pilot, etc.
A two part, small, clear, plastic tube sticks up from the base. It holds the ship about 2 1/2" to 3" above the base.
The setup is rigid. The ship isn't able to turn, twist or bank on the stand. In fact, the plastic parts are made with "D" shaped holes, which makes sure that the ship is assembled correctly, facing forward, in one particular direction.
Use the (Magnetic) Force
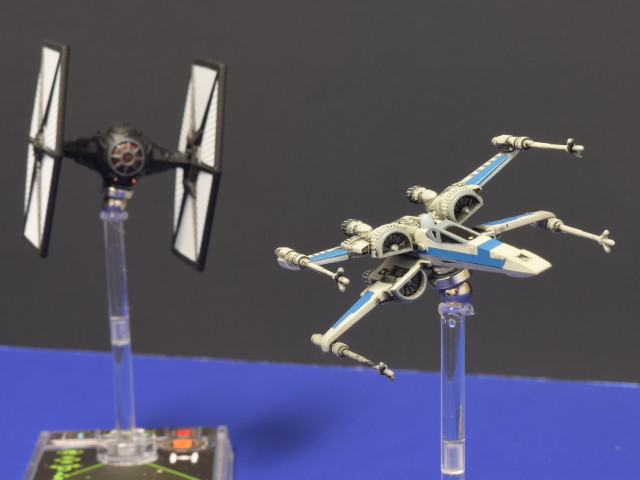
The modification we're about to describe uses a small ring magnet and a steel ball to form a kind of ball-and-socket joint. It replaces the top joint, and allows the ship to tilt or move in different directions.
This doesn't affect game play at all. It just looks cool.
Making the Modification
In the short video below, we show how we modified one of these ships. Note: This modification permanently alters your ships. Once you choose the way of the magnetic force, there's no going back.
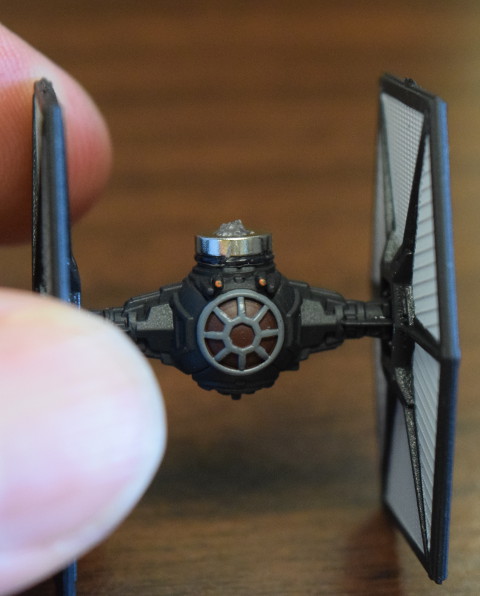
In that video, you'll notice that we had a nail sticking in the R421 ring magnet while we were gluing it in place. We used a nail with the point cut off. Why? Because on our first attempt, we found that we used too much glue and it flowed up through the hole of the magnet. Glue there doesn't let the steel ball sit in place. Using the nail this way helps prevent glue from flowing up through the hole.
UPDATE: We should have mentioned this more explicitly in this article: hot glue stinks. In our article about adhesives, we specifically recommend avoiding hot glue. Not only is it messy, but the high temperatures can partially demagnetize a neodymium magnet.
We did it here because it was fast, easy, didn't require a lot of drying time, and there's only so long we're allowed to play with X-Wing models at work! As you can see from the photos, it's not the cleanest or neatest choice. Super glue is much more commonly used for this.
What magnets should I use?
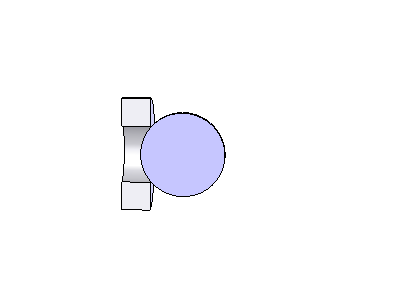
The most popular choice seems to be the R421 1/4" ring magnet with a NSB3 3/16" steel ball. That's a great combination. It's strong enough to hold well and not flop around too much, yet tiny enough not to overshadow the ship.
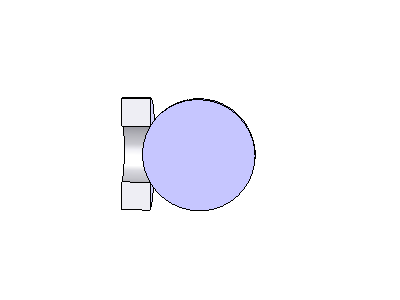
We also tried it with a larger NSB4 1/4" steel ball. It's a little stronger with this ball, but the ball is obviously a bit bigger in appearance. It's a matter of taste.
For much larger ships, consider bigger magnets and steel balls. R422CS-N countersunk ring magnet or countersunk ring magnets are great for much bigger ships that are available. Consider 3/8" diameter NSB6 steel balls with that larger ring.
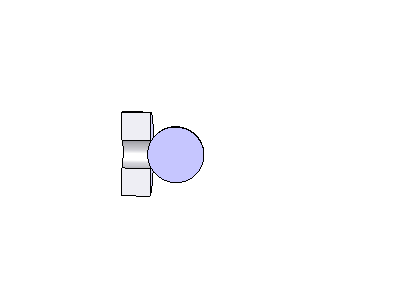
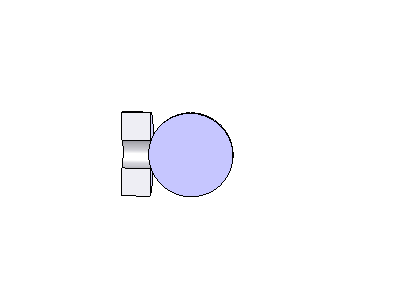
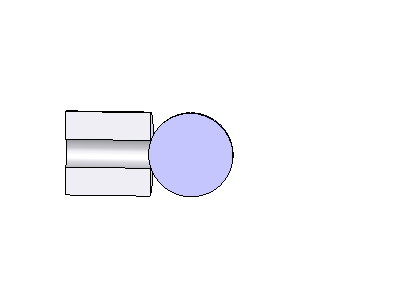
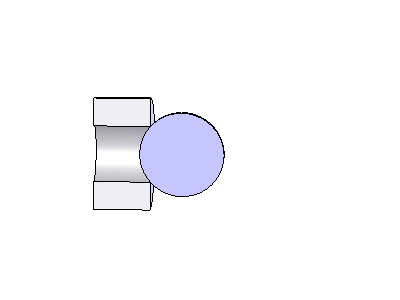
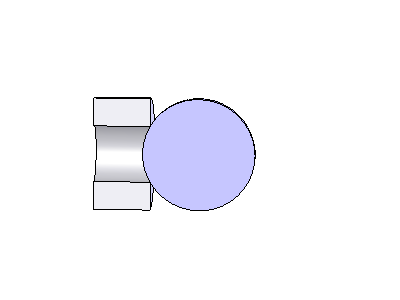
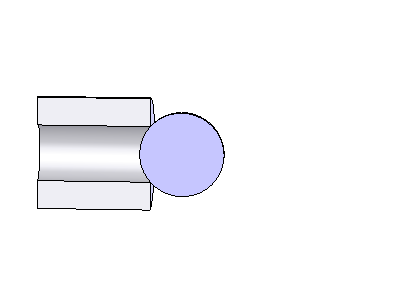
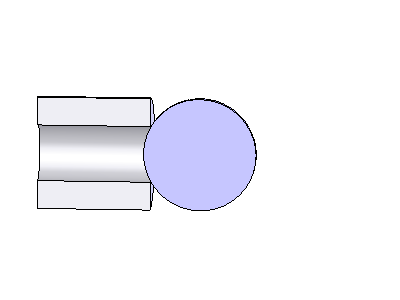
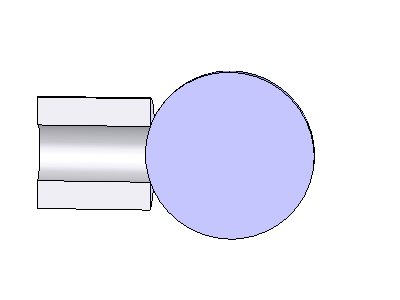
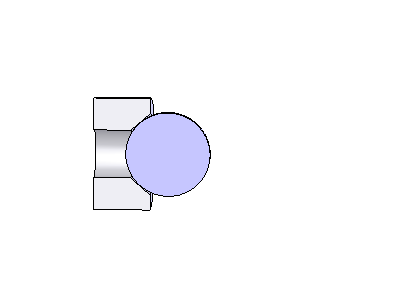
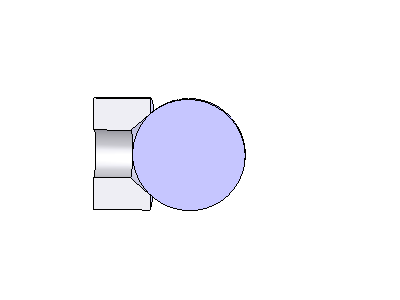
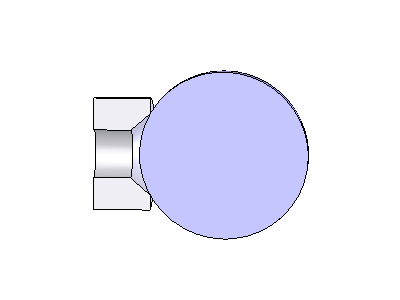
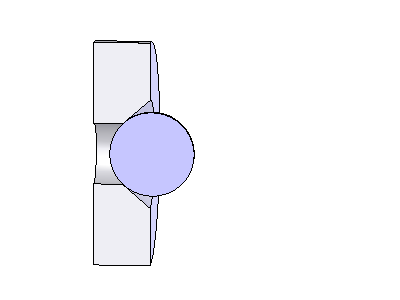
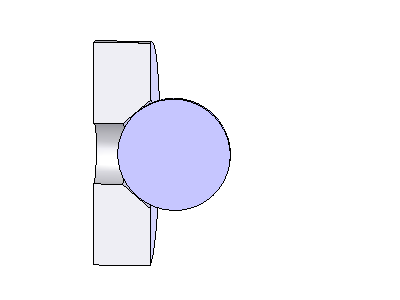
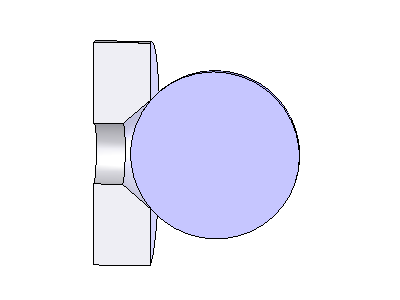
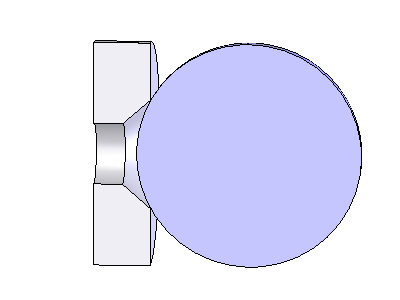
The table below shows how some popular combinations look with ring magnets going down the left side, and steel ball sizes across the top. We're focusing on X-Wing miniatures here, but model-makers of all kinds like to use these combinations of magnets and steel balls to make ball-and-socket joints. For a shoulder or hip joint, it's a great solution.
|
NSB2 1/8" steel ball |
NSB3 3/16" steel ball |
NSB4 1/4" steel ball |
NSB6 3/8" steel ball |
NSB8 1/2" steel ball |
|
|
R311 3/16" ring magnet |
|
|
N/A | N/A | N/A |
|
R313 3/16" ring magnet |
N/A |
|
N/A | N/A | N/A |
|
R421 1/4" ring magnet |
N/A |
|
|
N/A | N/A |
|
R422 1/4" ring magnet |
N/A |
|
|
N/A | N/A |
|
R424 1/4" ring magnet |
N/A |
|
|
|
N/A |
|
R422CS-N 1/4" countersunk ring magnet |
N/A |
|
|
|
N/A |
|
R622CS-N 3/8" countersunk ring magnet |
N/A |
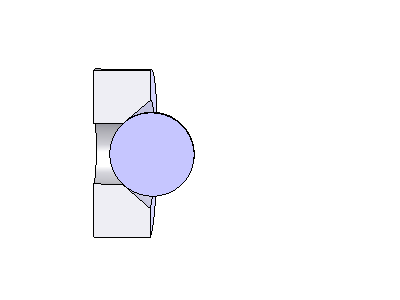
|
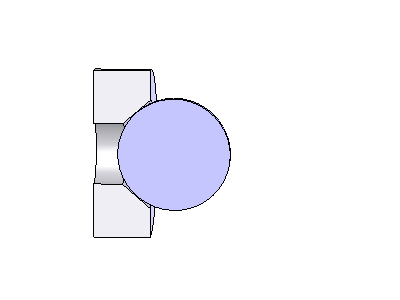
|
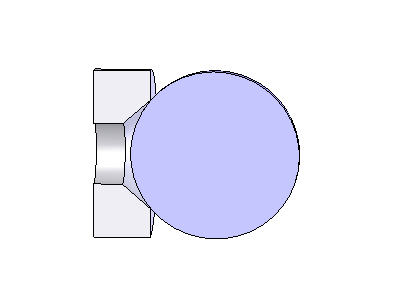
|
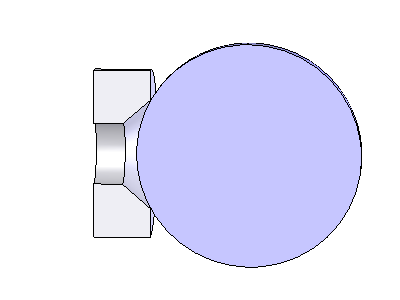
|
|
R822CS-N 1/2" countersunk ring magnet |
N/A |
|
|
|
|
Can I use a sphere magnet instead of a steel ball?
No. We get asked this question a lot, but it doesn't work very well.
A sphere-shaped magnet still has a north and a south pole, so it tends to stick to the ring magnet in one position. You can't rotate it a small amount and expect it to stay, since it wants to rotate back.
Epilogue...
Sadly, we didn't get our hands on any larger ships in time for this article. We've been told by many that the combination of the R622CS-N countersunk ring magnets rings with the NSB6 3/8" steel ball works great. I do have my eye on a certain freighter called the Millennium Falcon. She may not look like much...
